


Advertising seems to be blocked by your browser.
The ads help us provide this software and web site to you for free.
Please support our project by allowing our site to show ads.
Home /
Manufacturers /
Measurement Computing Corp. /
PCI-DIO96H /
PCI/VEN_1307&DEV_0017 /
1.3.3 Feb 04, 2022
Measurement Computing Corp. PCI-DIO96H - two ways of downloading and installing the driver
PCI-DIO96H is a DAS Component device. The Windows version of this driver was developed by Measurement Computing Corp.. The hardware id of this driver is PCI/VEN_1307&DEV_0017.
1. How to manually install Measurement Computing Corp. PCI-DIO96H driver
- You can download from the link below the driver setup file for the Measurement Computing Corp. PCI-DIO96H driver. The archive contains version 1.3.3 dated 2022-02-04 of the driver.
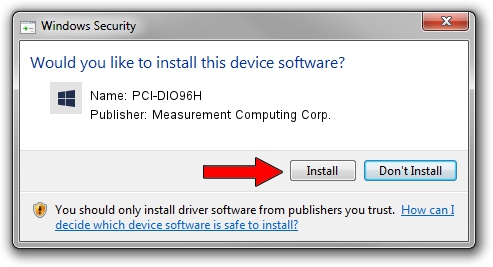
- Run the driver installer file from a user account with the highest privileges (rights). If your UAC (User Access Control) is running please confirm the installation of the driver and run the setup with administrative rights.
- Follow the driver setup wizard, which will guide you; it should be pretty easy to follow. The driver setup wizard will analyze your computer and will install the right driver.
- When the operation finishes shutdown and restart your PC in order to use the updated driver. As you can see it was quite smple to install a Windows driver!
Driver rating 3.5 stars out of 82368 votes.
2. How to use DriverMax to install Measurement Computing Corp. PCI-DIO96H driver
The advantage of using DriverMax is that it will setup the driver for you in just a few seconds and it will keep each driver up to date. How can you install a driver with DriverMax? Let's follow a few steps!
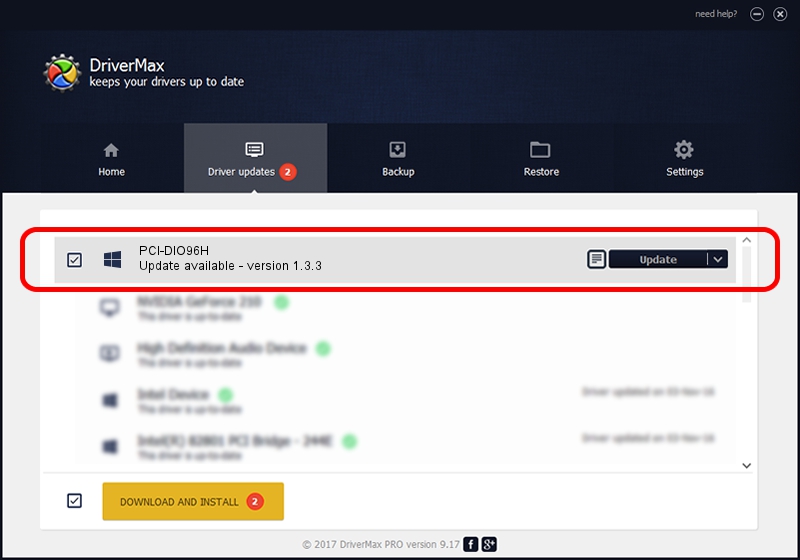
- Start DriverMax and press on the yellow button named ~SCAN FOR DRIVER UPDATES NOW~. Wait for DriverMax to scan and analyze each driver on your PC.
- Take a look at the list of detected driver updates. Search the list until you locate the Measurement Computing Corp. PCI-DIO96H driver. Click the Update button.
- That's all, the driver is now installed!

Aug 19 2024 11:15PM / Written by Andreea Kartman for DriverMax
follow @DeeaKartman